 Mauricio Junior

How to install Azure CLI on macOS
The easiest way to install the Azure CLI on macOS
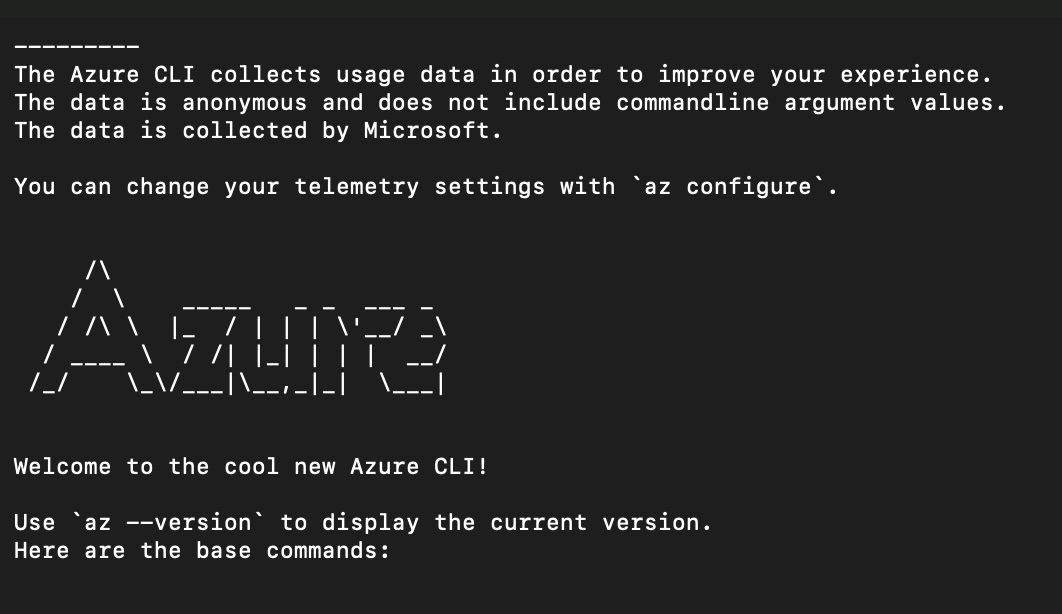
The easiest way to install the Azure CLI on macOS is via the Homebrew package manager.
Install with Homebrew (Recommended)
This method is officially supported by Microsoft and simpl ...
Subscribe ecode10.com
Receive our latest updates about programming languages, software, database, books, ebooks, classes, jobs and more.
You can cancel anytime.
Log In
Subscribe now
Related articles
How to log in to my Azure CLI on my macOS
To log in to the Azure CLI on your Mac

Deployment Slots no Azure
É possível publicar sem deixar fora do ar?


Vinculando Azure e Publicando seu Web Site
Veja como publicar seu site no Azure

Java no Azure
É possível isso?
